Using MQTT interface. #2
This article describes the setting for receiving data from the cloud MQTT server on an Android smartphone.
And so, the energy consumption data measured by the energy meter is transmitted to the cloud server MQTT.
But how to use them? For this we need a client for a smartphone.
Install on Android smartphone app MQTT Dash
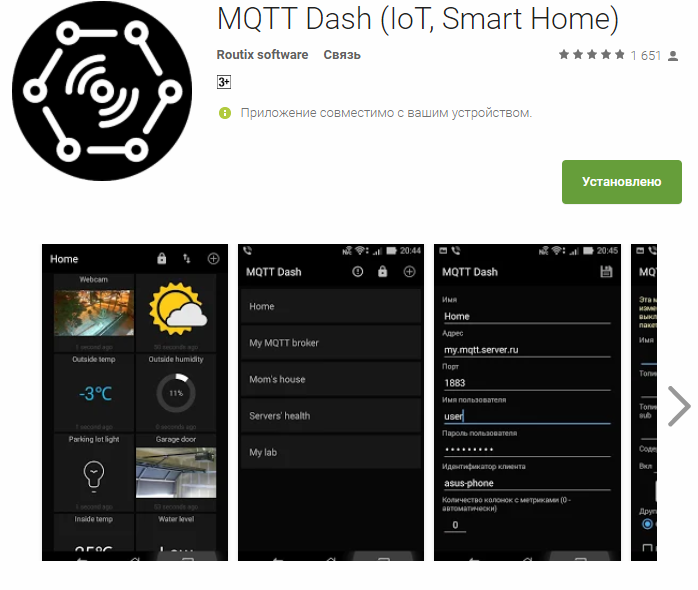
Run the application on your smartphone and configure it.
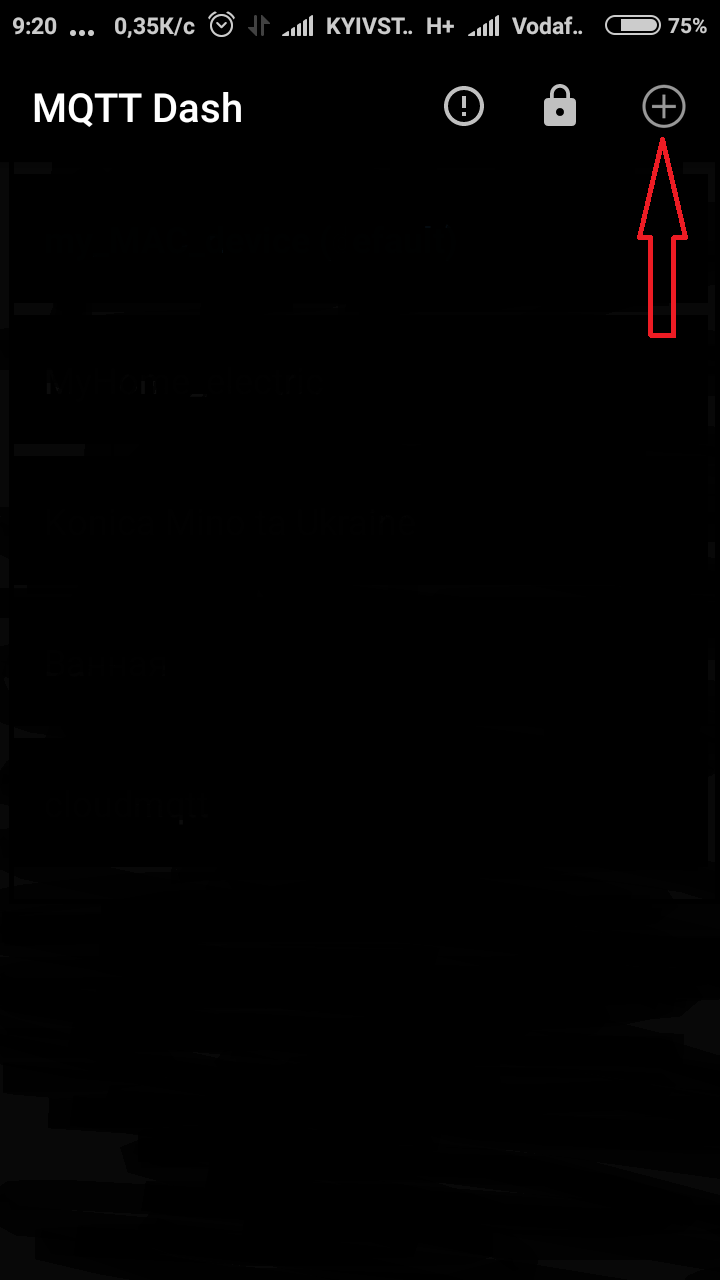
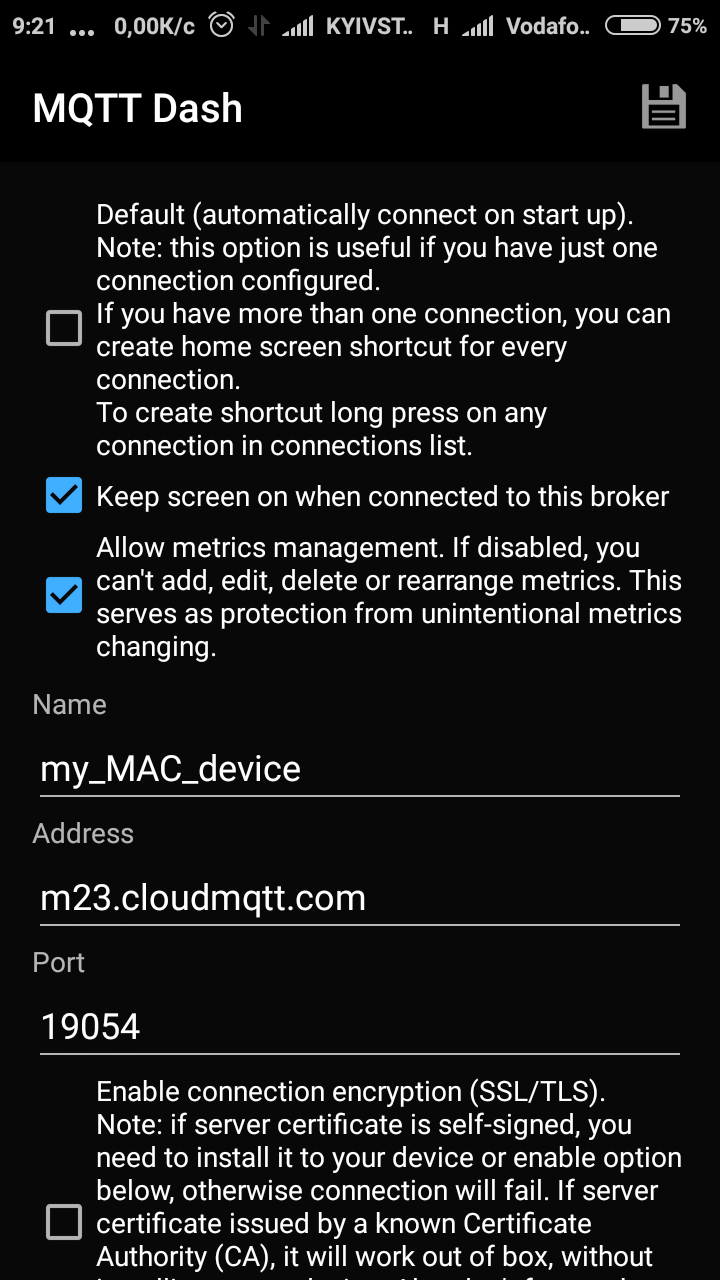
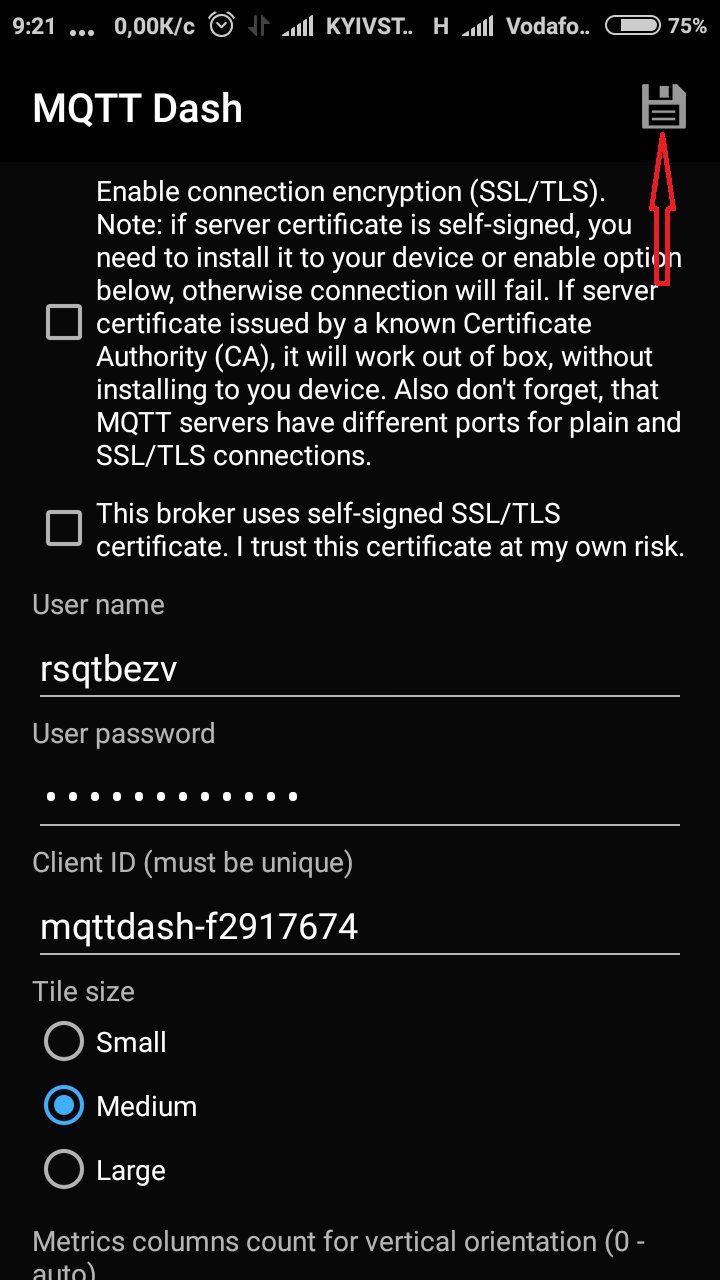
To add a connection to the server click "+". And in the new window we fill in the Server, User, Password and Port fields:
And after filling in all the fields, do not forget to click on the diskette to save.
|
|
And after filling in all the fields, do not forget to click on the diskette to save.
| 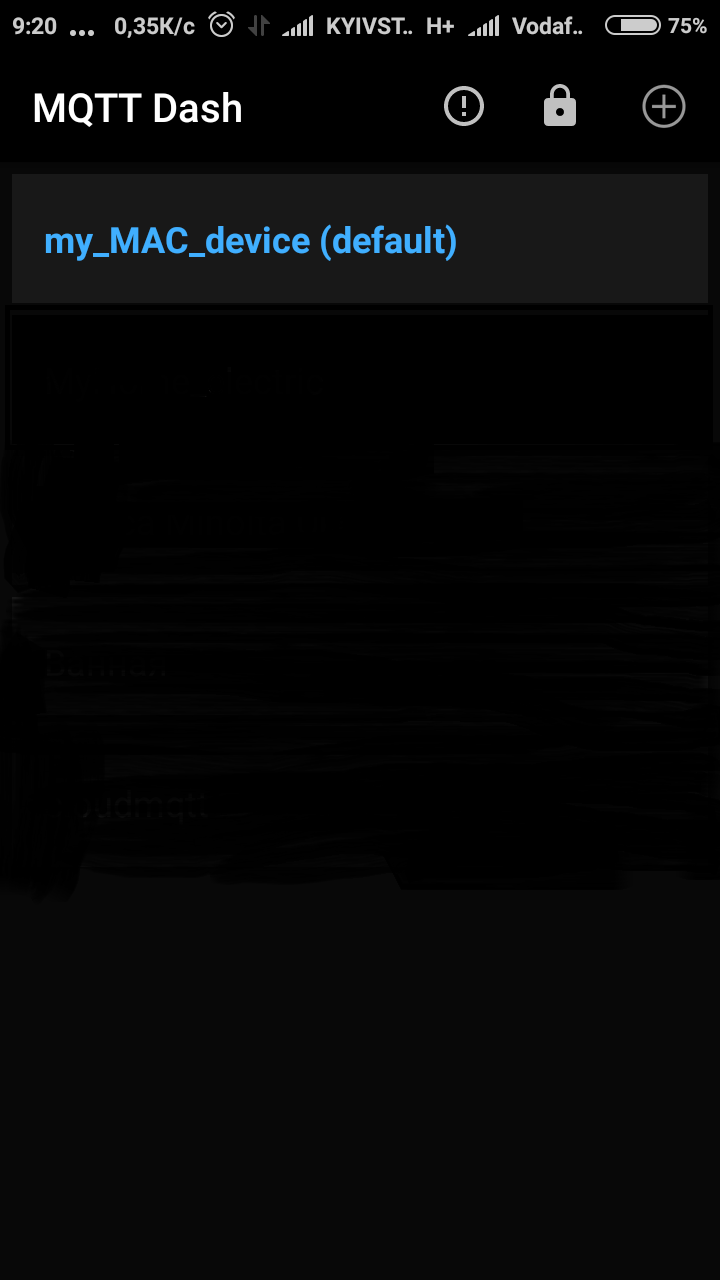 |
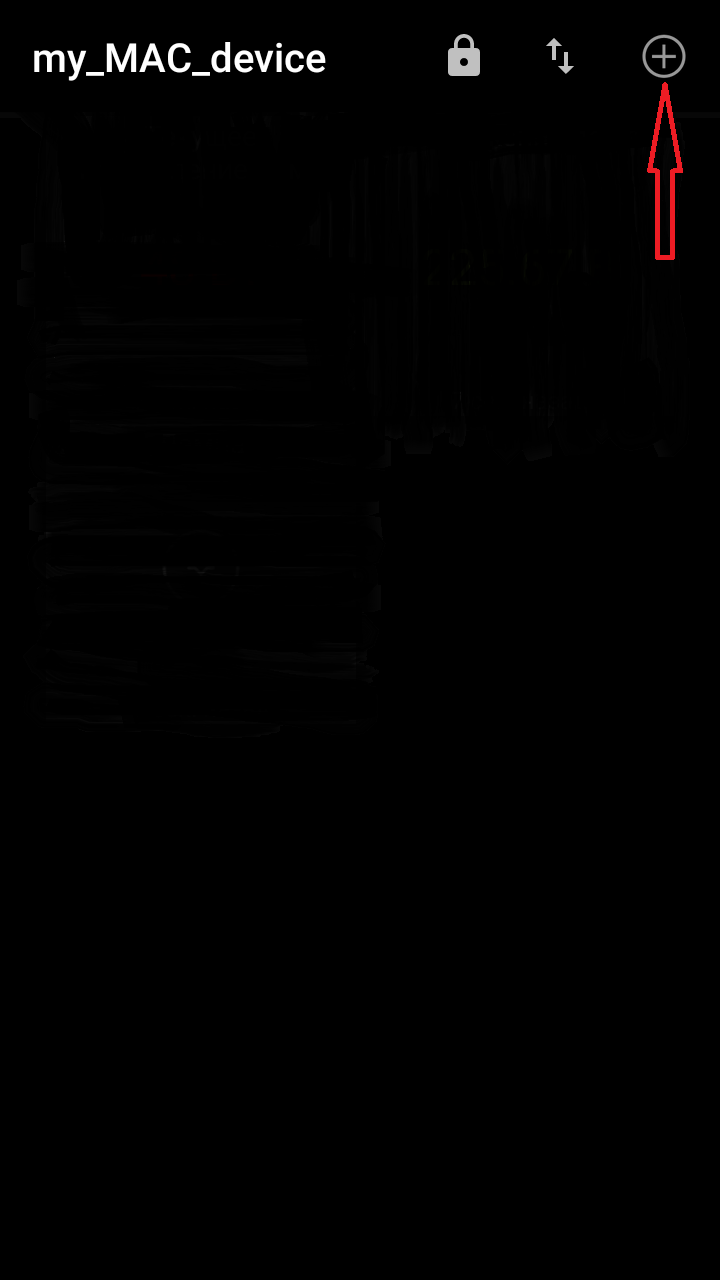
Click on the created connection and if there were no errors, then we are connected to the CloudMQTT server. Click “+” to create widgets.
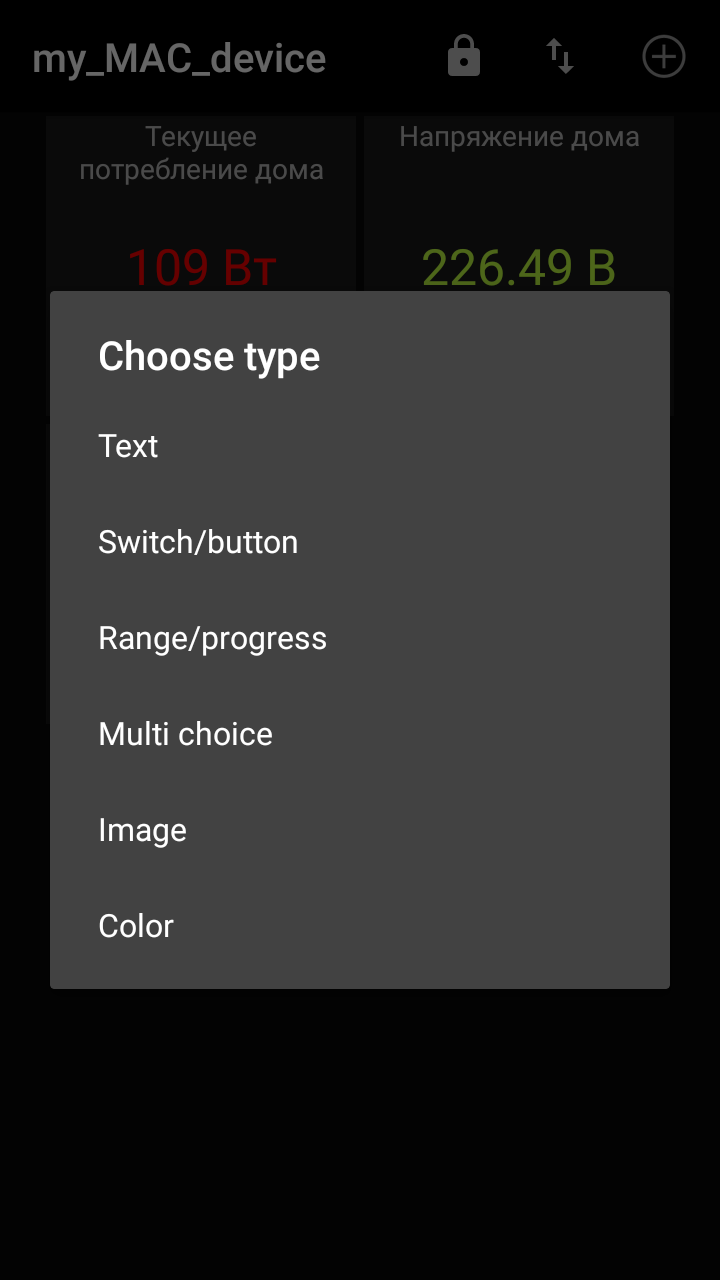
Choose the type "Text".
|
|
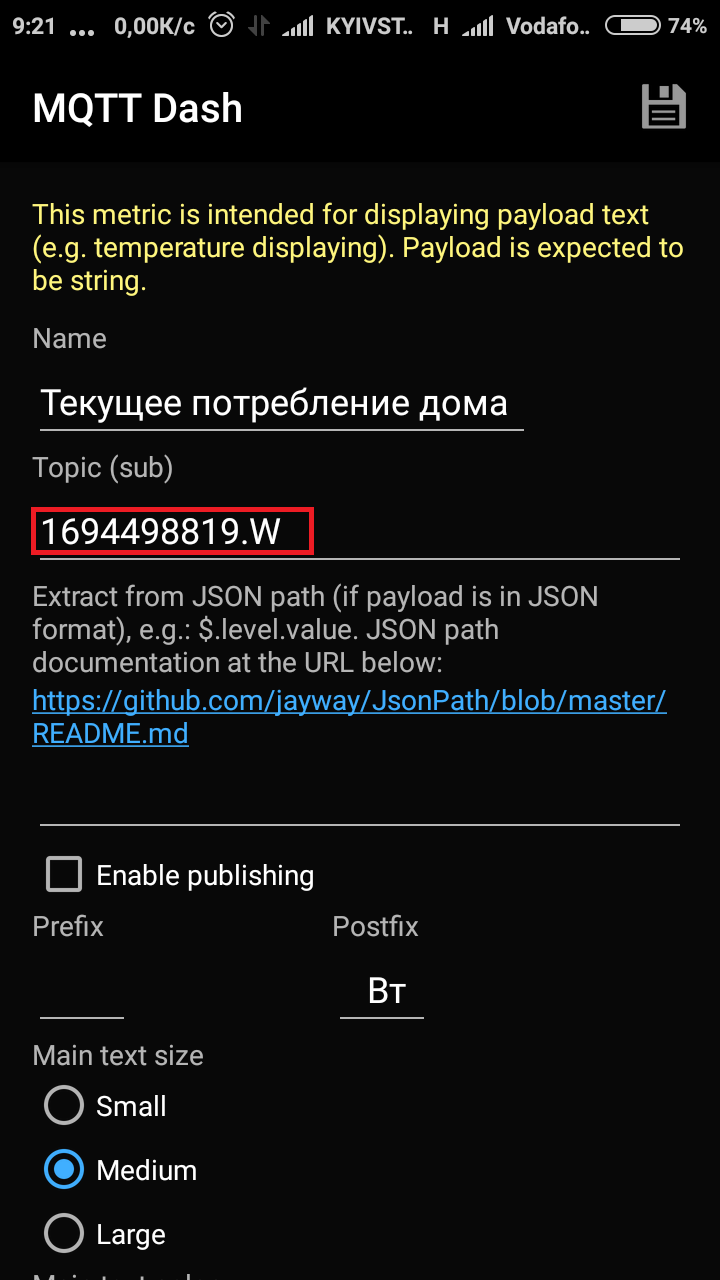
In the Topic (sub) field we enter the number of your device and after the point the parameter (V, W, A ...) that we want to watch.
A description of all the parameters that are sent by the device to the MQTT server can be found in the User Guide.
| 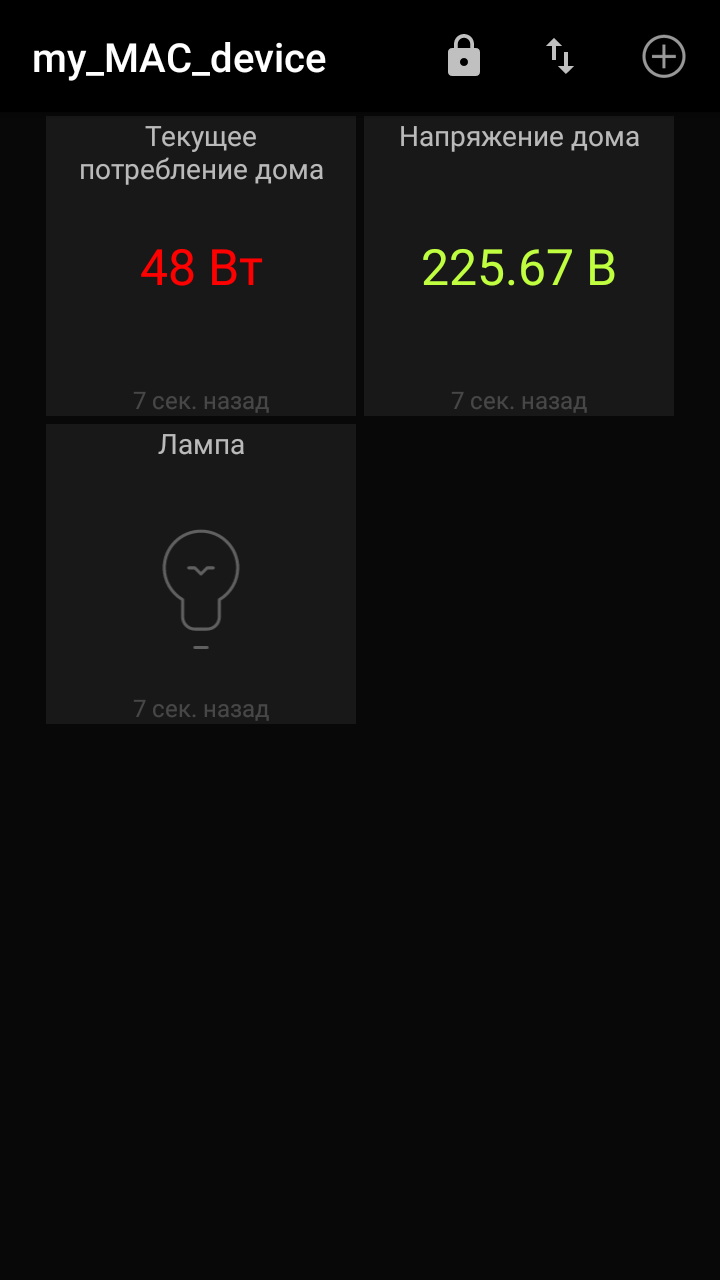 |
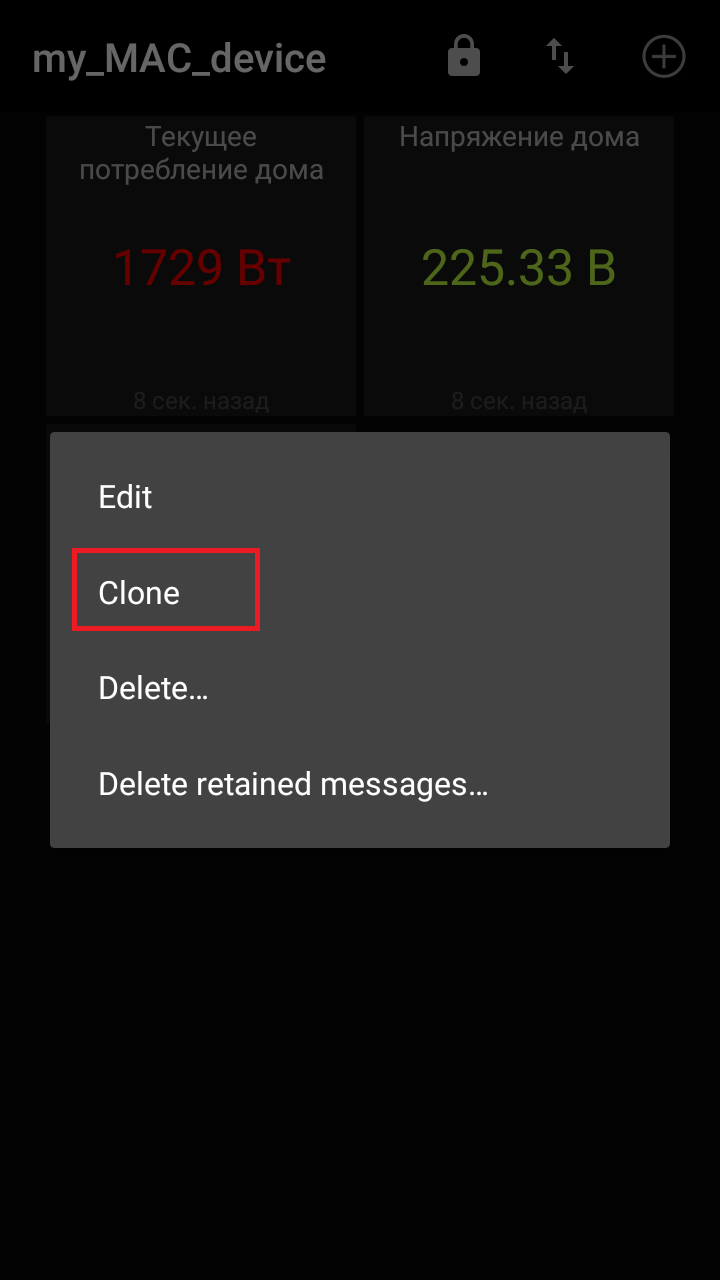
If you need to display other measurement parameters, for ease of creating widgets, you can clone them by pressing a finger on the widget and holding it.
A menu will appear:
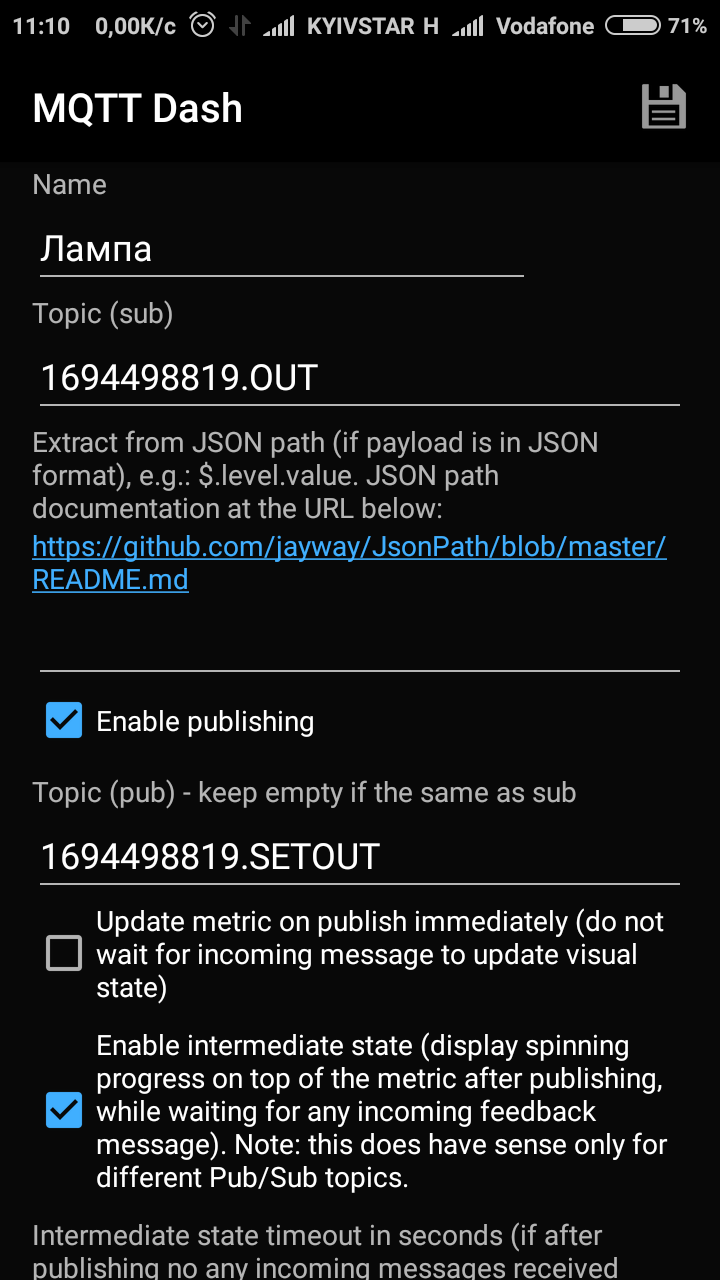
| A duplicate widget will appear on the screen, which is easy to edit by changing the name and the letter in the topic after the point. To control the "Dry Contact" device, you need to create a widget with the type "Switch / button": |
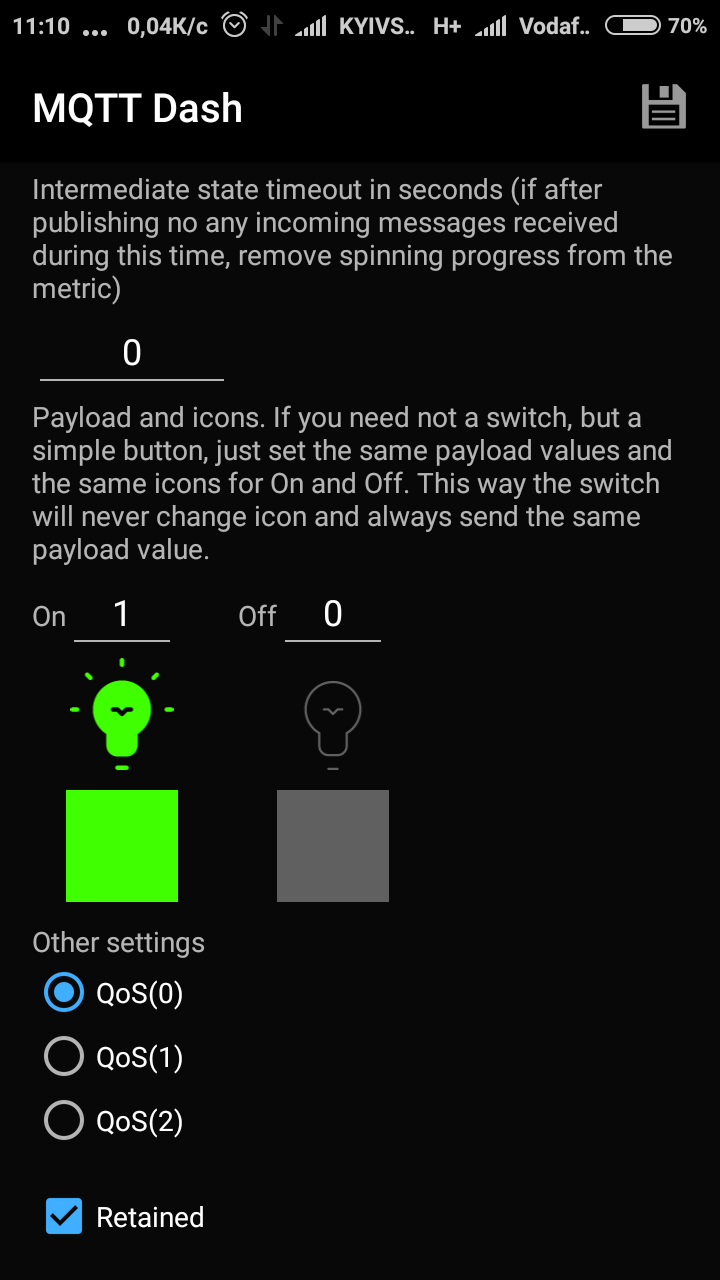
Customize the color and image of the button.
|
|
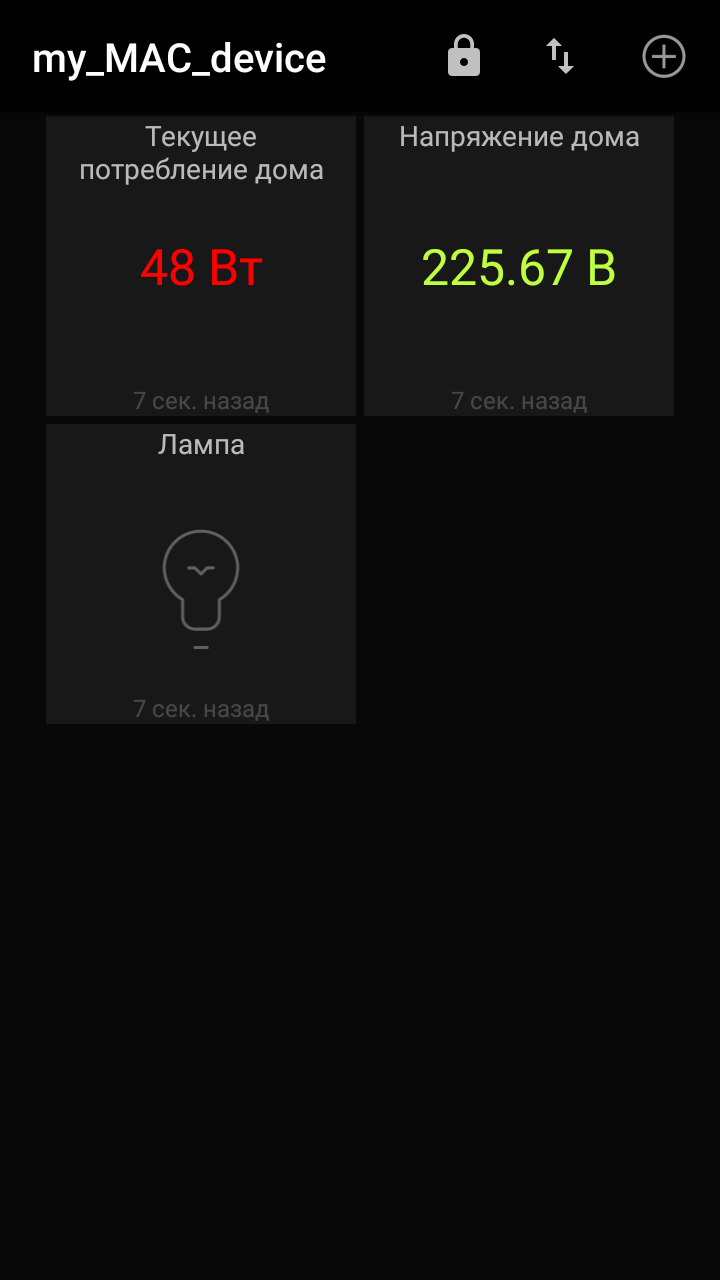
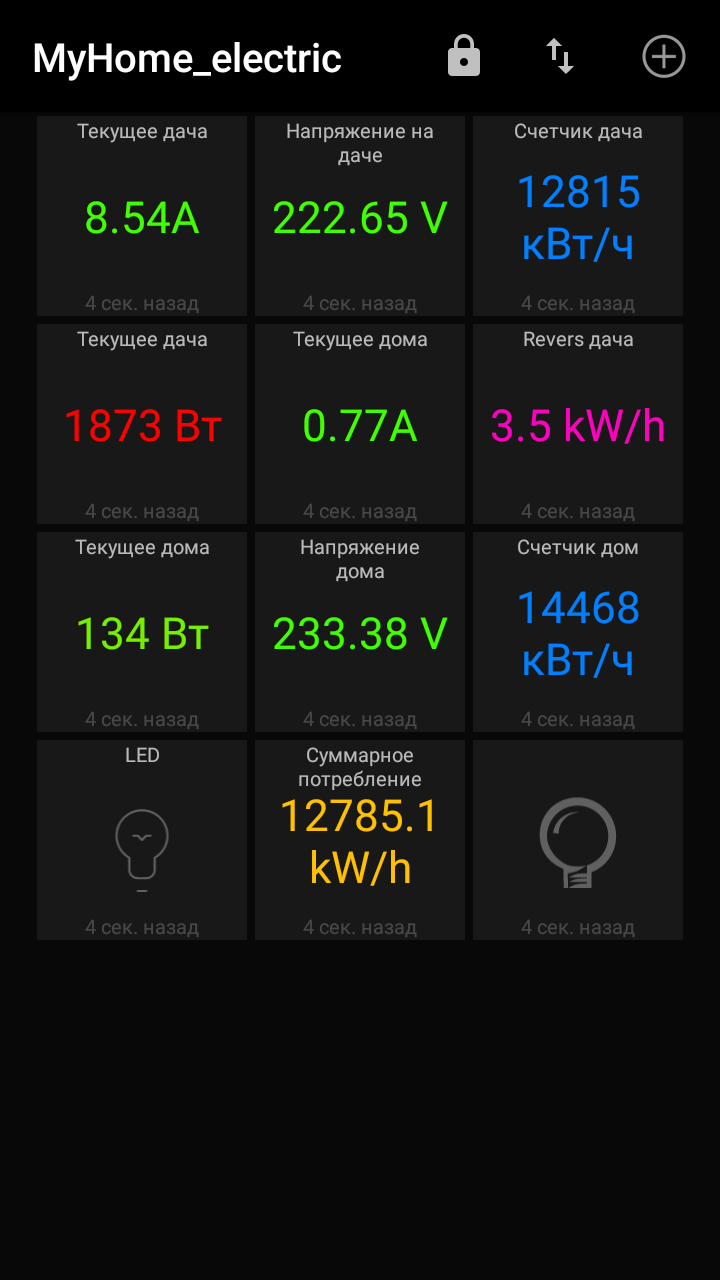
Enjoy control and management:
|
|
In the next article we will describe what additional settings of the widgets can be made for better monitoring and control of the energy meter.
Customer support service by UserEcho
